Halloween… a holiday of spookiness and partying. Fun fact: Halloween is my favorite holiday! For this year’s Halloween, I am designing costumes for my partner and me, we are going to be dragons. I had some left over fur from designing my fursuit partial, and what better to make of it than another suit? Also, I made a piece of my friend’s costume as well, a roblox themed t-shirt for a bacon hair cosplay. I really enjoyed the process of t-shirt designing and pressing. Perhaps I could make my own t-shirt designs in the future… I can’t wait to have my own workspace lol
The dragons
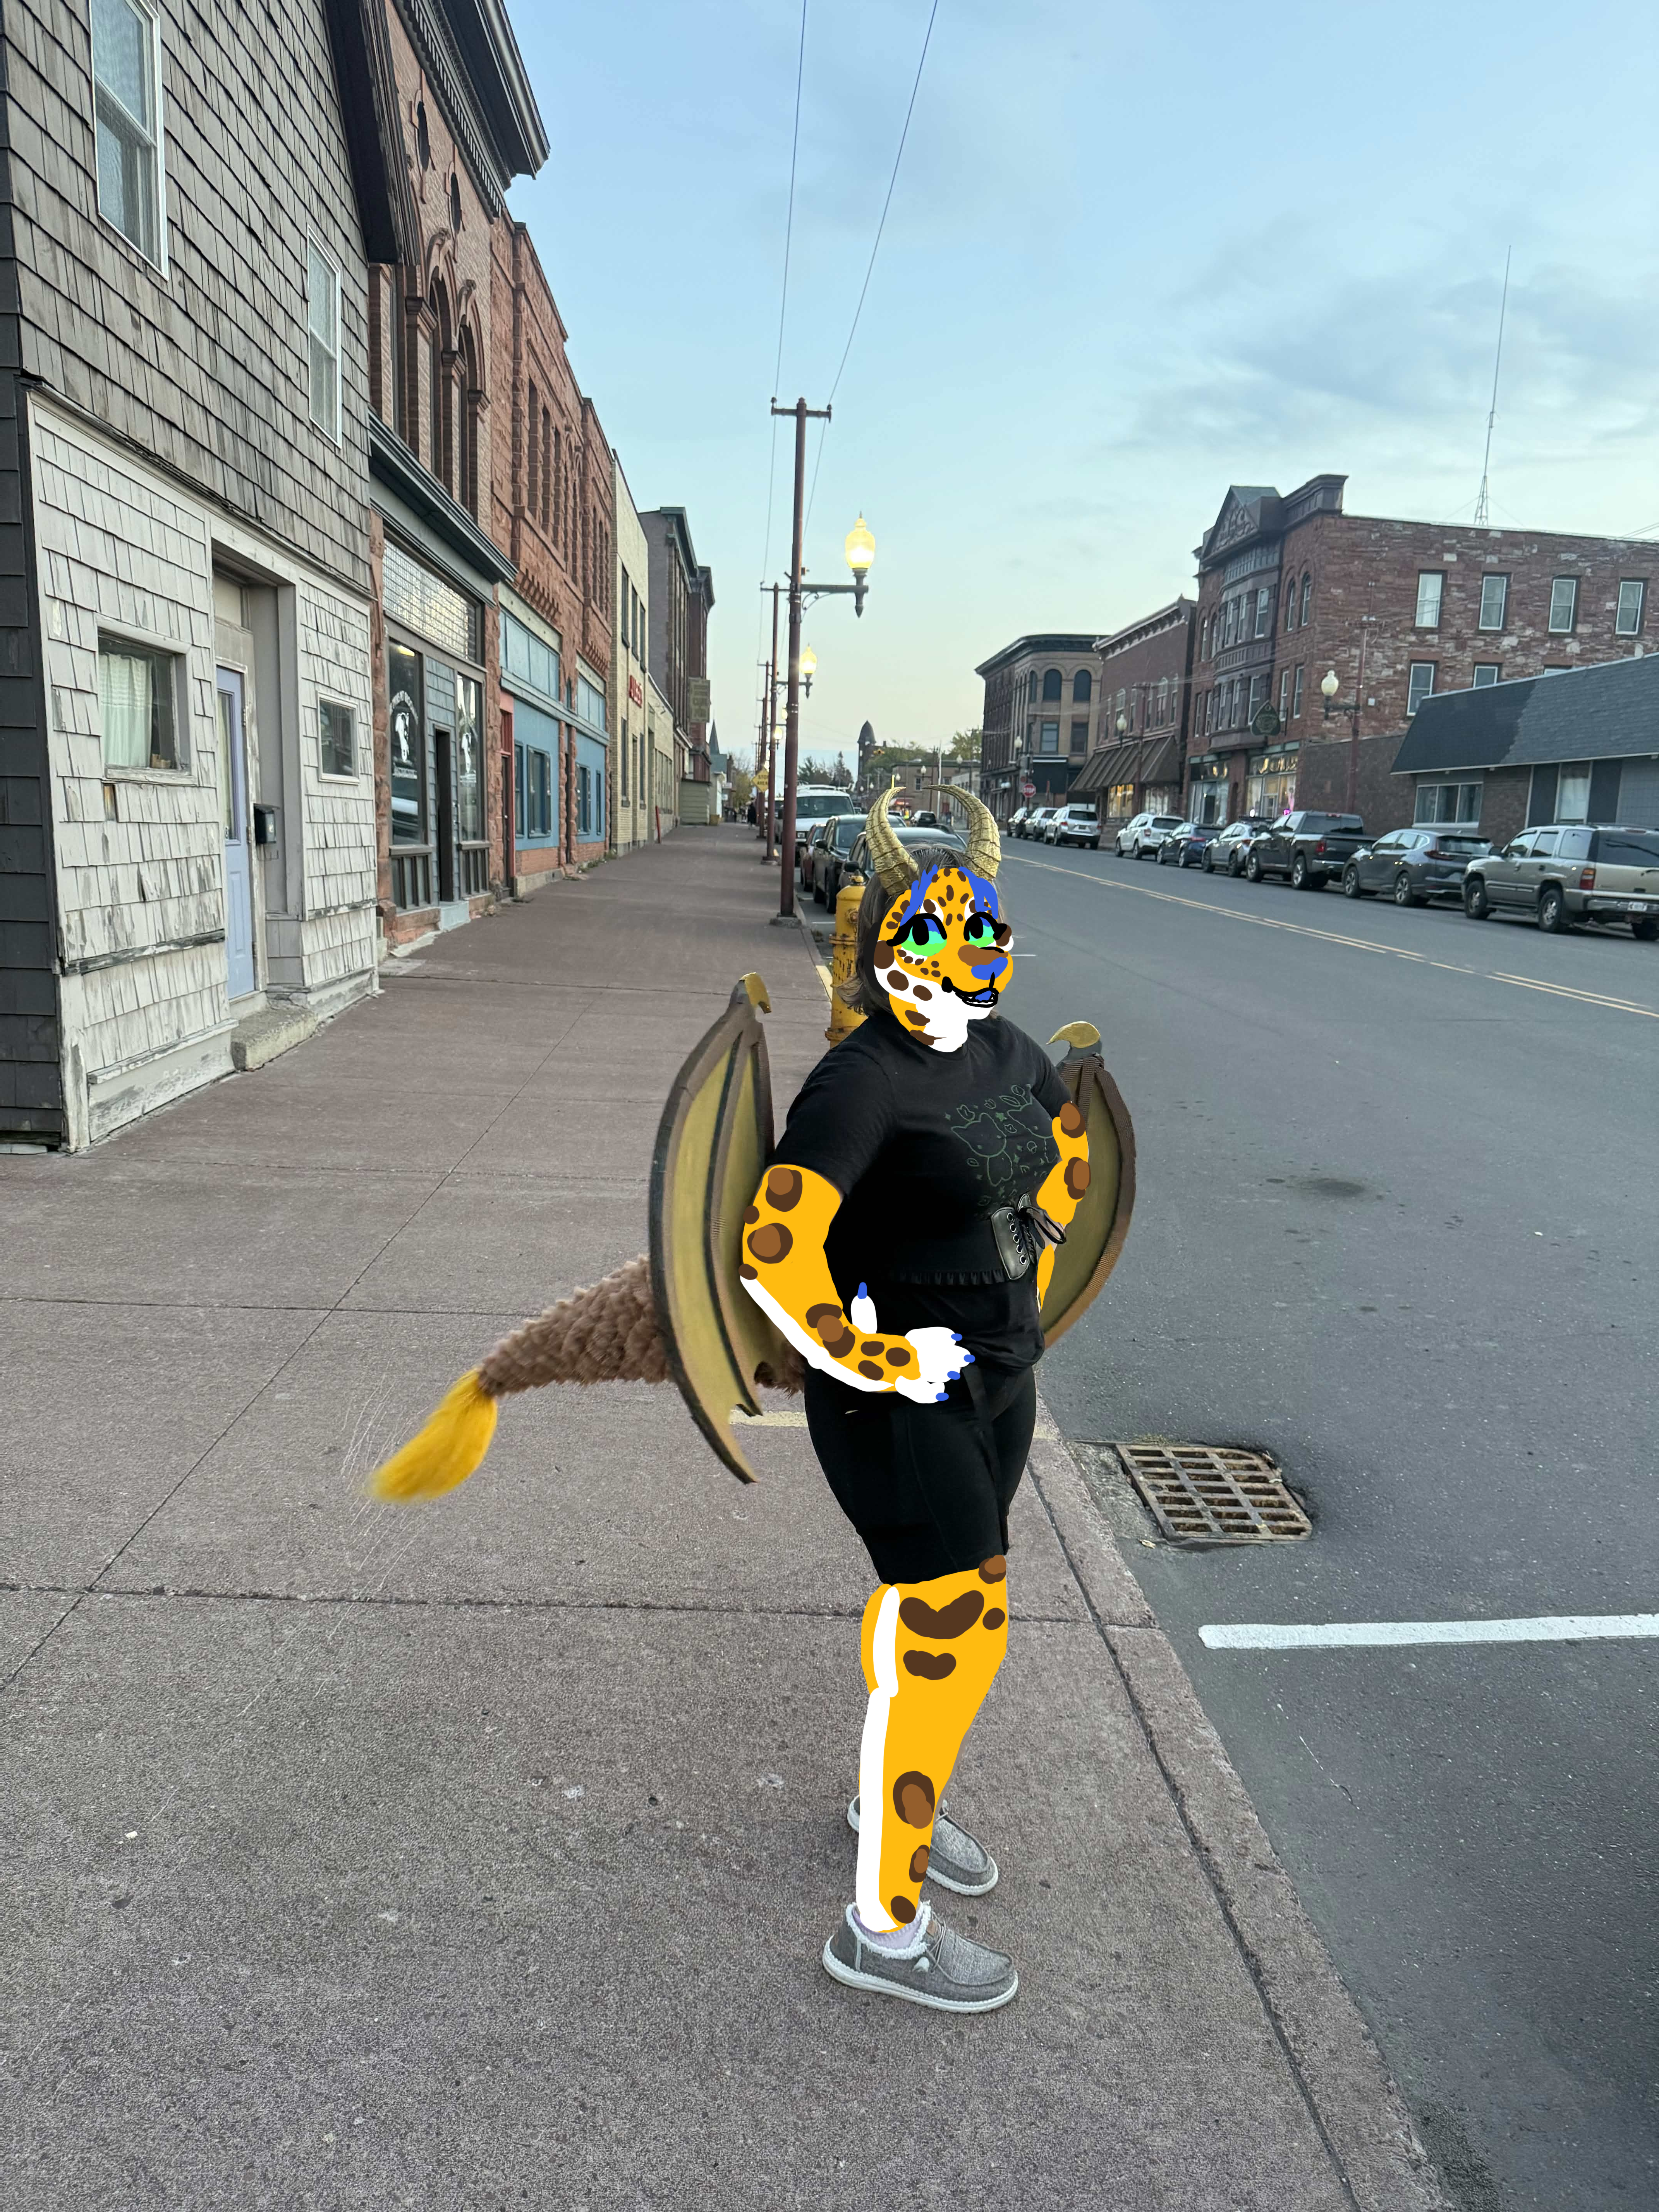
So this took me soooo long to make, and my partner’s costume is not done yet (as of 10/21). I was able to find this horn stl for my costume. I really liked the large horns that would be very obvious and flashy. I also like that they can be fixed to my head with a string and be hidden under my hair. The wings are made from cheap eva foam from Harbor Freight as a last minute pick-up. Living in the UP of Michigan does not offer a lot of options when it comes to crafting… I cannot wait to return to Minnesota in December. I used another eva foam mat from Harbor Freight for the tail core and the tail chunks are made of upholstery foam. I really wanted to practice my movable tails, I made one for my fursuit but I want to keep trying different shapes so I can perfect the craft. :) After getting the tail done, I trimmed scales into the brown fur and cut out a large chunk to have a lion-like tuft at the end of the tail. I wanted to add spikes along the tail, but I haven’t had the time yet. I made mine really thick but I think my partner’s tail will be much more whip-like because he has a leaner build. Very excited to wear these out for Halloween! Below is a picture of my (mostly) finished costume I wore to a night market:
The shirt
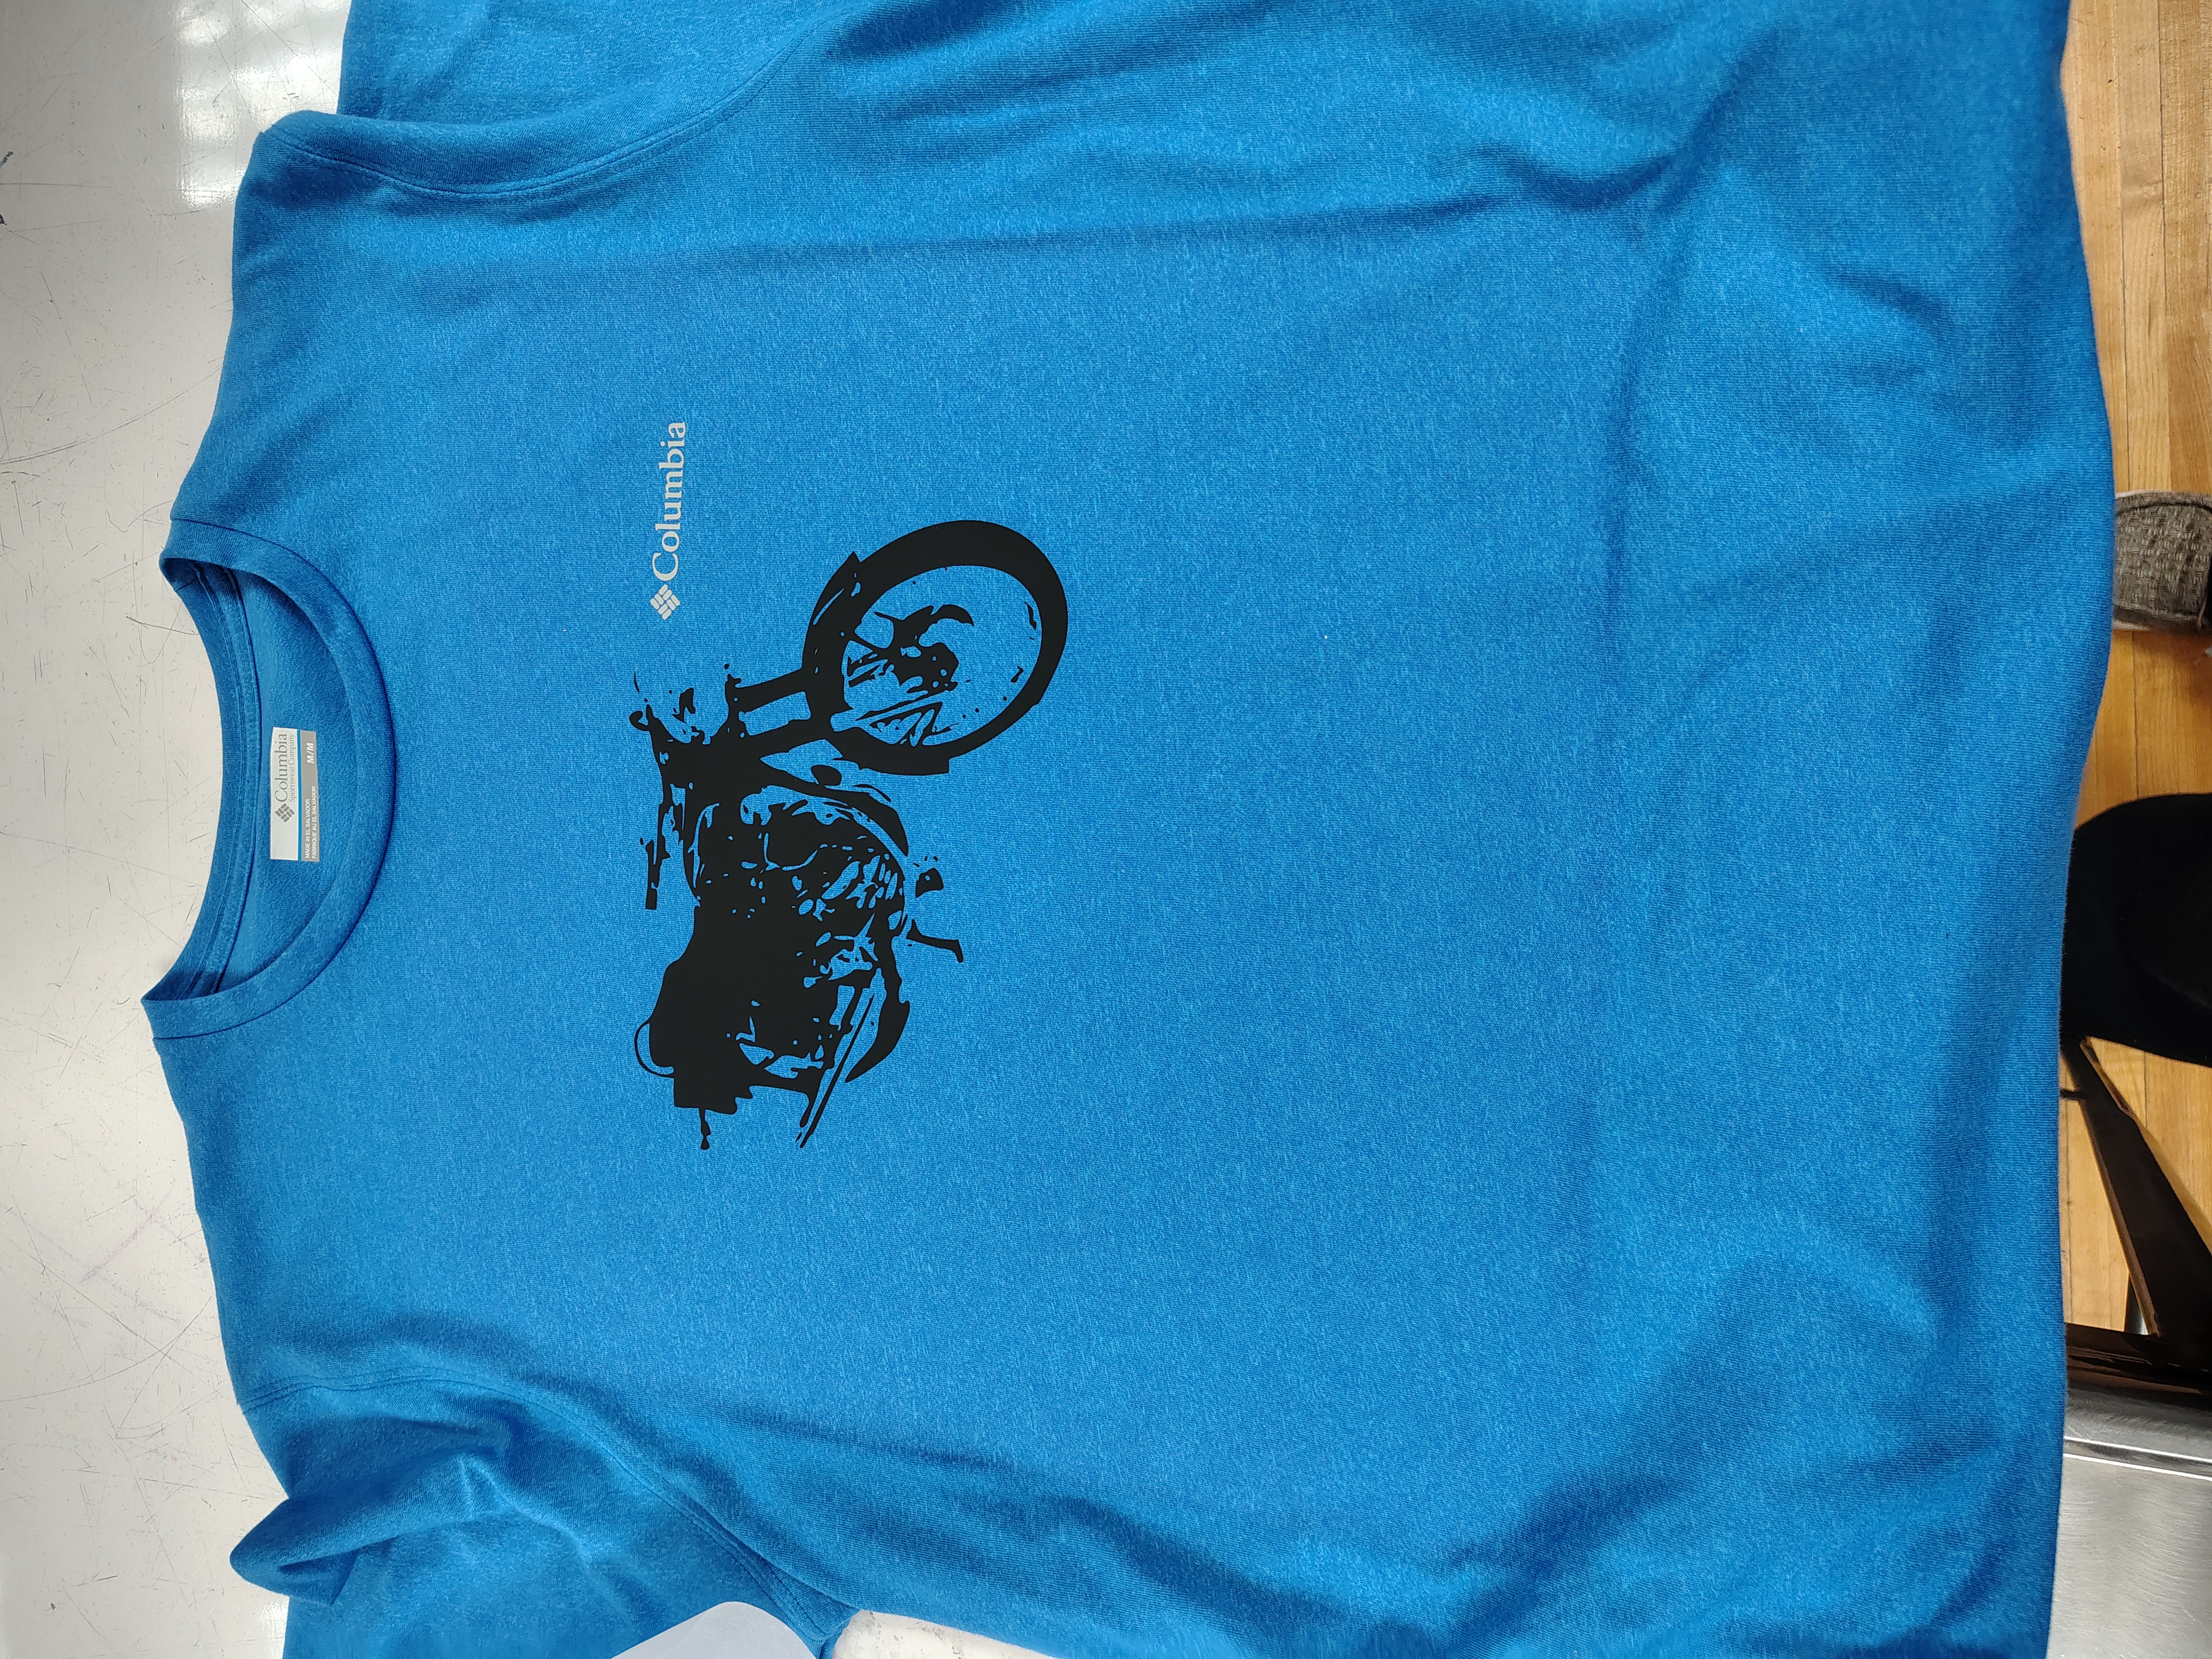
The t-shirt was so much fun to cut and press. I’ve never used a cricut before! It was a super easy process and my makerspace had some lovely tutorials I could follow to make sure the decal worked first-try. I used black iron-on vinyl by cricut and pressed it in the makerspace’s t-shirt press at 315F for 30 seconds, cold-peeled, then pressed for another 10. Look at how it turned out!! I was so psyched to see and feel it, it was a really high quality decal!!
Let me know your thoughts in the comments below :)
No comments yet!